Alchemy is a free, open-source Unity library (MIT licensed) that provides inspector attributes, serialization extensions, and hierarchy customization as an alternative to Odin Inspector. It offers features like custom labels, title and help boxes, foldout and tab groups, box groups with object constraints, inspector buttons, and serialization support for dictionaries, hashsets, tuples, and nullable types. While Odin has a larger feature surface for complex polymorphic types, Alchemy provides sufficient functionality for simple games and is particularly useful for developers already using LitMotion. Unity 6.5 compatibility requires updating instance ID references to entity ID.
Install our extension to search inside any video instantly.
Unity Devs Are Sleeping on This Free Alternative to Odin
Added:If you've ever considered using [music] Odin Inspector, but maybe you don't want to pay for it, or you're concerned about the licensing fees, then this open- source library is worth [music] your attention. Alchemy is free. It's open source and MIT licensed. It [music] gives you practical inspector attributes, serialization extensions for types that Unity normally can't handle, hierarchy improvements, [music] and editor tooling support. Today we're going to go through exactly what it does well, talk about where Odin has a larger feature surface, and [music] then how to decide which one is right for the constraints of your project. Let's get into it.
[music] So, I'm going to start the video with a disclaimer. Getting set up with Alchemy in Unity 6.5 was not the most straightforward thing in the world, and that's because the repository hasn't been updated to handle the breaking changes that are coming. most specifically having to do with the deprecation of instance ID which we talked about a few weeks ago. Now, if you're still on Unity 6.4 or below should have no problems. Just import the URL. You can grab that from the repository which I'll link in the description. So, in my case, I'm going to make my own local copy of this and patch it up for Unity 6.5. Now, I'm not going to go into details about this cuz we have a whole other video about it.
But everywhere we're using an instance ID, we just need to update this to use entity ID instead. Not too bad. There's only six files that needed to change.
Anyway, most of you won't have this issue. Let's move on. So, as most of you know, Odin serializer is free, but Odin Inspector is not free. And so, if you want to use the inspector portion of Alchemy inside of your class, you can add a using statement for alchemy.spector.
Now, this gives you access to about 30 plus attributes that you can use. And probably the simplest one is to change the label text of a property or field.
Let's jump back to the editor and just have a look. So you can see here, very simple. It's just replaced my normal field name with the label text. Now, of course, that's very simple. Let's look at something more advanced. So, let's take a look at a few more attributes and combine a few together. Alchemy comes with a title and a help box attribute, so you can provide some structure and context for your designers. So, we'll associate these two with a field named character name. You can mix in fields that don't have any attributes. So, maybe a vector 3 for a spawn offset. And we can add another field with the read only attribute. Let's go see what this looks like in the inspector.
So, we can see our title, basic attribute wins, a little help box below that just above the character name.
Then, we've got a normal field for the spawn offset and a read only field for runtime level. Let's keep going. Now, let's have a look at grouping and layout. If I make a foldout group here, you can give it a unique name and start adding fields into it. For every field that's going to go into the foldout group, you have to add the attribute with the exact same name. If you want to start nesting foldout groups, then you just use the slash. Every slash that you add in the name denotes a new suble. So here our top level is going to be two bracket grouping. Then we have some stats. Then below that we have some resistances. If we jump back into Unity here, you can see what that looks like.
Starts out with everything fully expanded, but you can collapse it all all the way up to the very top level here. Now a tab group is very similar to a foldout group. You give the general tab group a name, but then each tab is going to have its own unique identifier.
So, we can have one for melee and one for ranged. Of course, you can add more fields into each tab as well. Let's just take a quick look at this. One thing to notice here is that the top level before the first slash is exactly the same as the foldouts. That means my expectation is that this tab group will sit at the same level as stats. So, here I can jump between melee and ranged and assign a different prefab. And if I want to collapse up this entire section too for grouping, that should also hide my tab group. Another nice attribute is to add some constraints. One thing you can do is prevent linking an object from the scene and only allow assets. Notice this time I've used a box group instead of a fold out or a tab. Let's have a look. So here we've got everything put into a nice little box. And if I try to drag something from my hierarchy into this field, of course, it's not going to work. it'll only accept things from the project window. So, let's just find a prefab to make sure that's true. There we go. Now, for this next part, I've made an interface eye ability effect, and I've implemented that as some serializable classes, damage effect, heal effect, buff effect, and I've also added a serializable class that is just a payload of data. We're going to be using that for the next attributes. So, let's come back to our demo script here.
Here, I'm going to make another box group that will just be for serialization of references. So, let's have a serialized reference for a public eye ability effect. And here, we'll just start it with a new damage effect. And likewise, let's add another one for a public heal effect. They're both going to be of the interface type, but we'll instantiate a different instance in each one. Let's have a look. So, here we can see a new box group. Inside we can see both of our serialized references and we can expand each one to see the public fields exposed by the interface. So in this case each amount has a different default value based on the type that was instantiated into that reference. All right, coming back to code. I've done a little bit of cleanup just so this is a little bit more compact and potentially even more readable I would say. We're going to add another box group and this time we're going to take a look at buttons. So, first of all, I'm going to put a few fields into this box group, and we'll use these field values in the buttons we're about to create. So, making a button in Alchemy is actually really simple. You just need the button attribute. Let's include this in our box group. We'll add the button attribute, and I'm going to make a few buttons. So, I'm going to create a horizontal group this time. Our first button is just a public method that will be executed as a button. All it's going to do is log out the summary property from our primary effect and our secondary effect. Let's make another inspector button that will just give us a little health boost. So again, we've got the button attribute.
It's part of our horizontal group, and all it's going to do is take that boost amount and apply it to our health. Now, I'm just going to page down to give us some room cuz we're going to make one more button, but I won't include this one in the horizontal group. I just want it to be part of the parent box group.
So for this button, another public method that'll take those payload fields that I defined earlier. It's going to update our character name and change our stamina to be 100 minus the amount.
Let's go take a look at these buttons in Unity. So, [clears throat] we can see some buttons and we've got our fields exposed. If I click print current effects, we should see damage 20 and our heal 15. Of course, that's exactly what we expect. If I click the boost health button, we should see that it's jumped my health up to 125. And clicking it again should take it to 130. And then we've got this payload button which will take those two fields and should adjust our name and our stamina. So of course right away when I click the button you should see the character name is updated to say dash cuz that was the value in the payload. But it's also adjusted our stamina stat which is now collapsed in the grouping section. Let's expand that just to make sure it's working correctly. So we can see our stamina went from 100 minus 25 equals 75. So as you can see creating buttons was extremely easy. You just need a public method and the button attribute. It is a little bit bare bones. It's not quite as fancy as the buttons you can make in Odin with sizes and colors and whatnot.
That would be something you would have to implement on your own if you really care about that. But in general, Alchemy has all the same basic attributes and functionality that you would get with Odin Inspector. Which leads into the next question. What about serialization?
Well, let's have a look.
Odin runs off of its own custom serialization, but Alchemy makes use of the com.unity.ization package, which you should make sure to import into your project if you want to use these features. So, we're going to start with a using statement alchemy.
And we're going to use the alchemy serialize attribute on the class. This marks the class as a code generation target for Alchemy's serialization pipeline. We also need to mark this as a partial class because the source generators are going to emit additional class members into a companion generated file. So how do we use this? Well, it's very simple. First, we're going to use the alchemy serialized field attribute and the non serialized attribute. So this means we're not going to let Unity's default serializer own the field. We're going to let alchemy serialize and surface it. So let's start with an obvious pain point for everybody, the serialization of dictionaries. Let's just make a new dictionary of type string, game object.
And while we're in here, why don't we do the same thing for a hash set? Another type you might want to serialize is a tpple for some reason. You never know.
Let's make a tpple of int float called spawn config. And what about nullables?
Another thing that Unity can't handle.
Let's make a vector 3 nullable. Now, let's go back and see what this looks like in the inspector.
All right, so I've added the script to my game object. If we take a look at the dictionary here for our loot table, we can just start adding key value pairs for string and game object. I'll just set up one here. Once one of them is ready, you click done and then you can free to add more. So hashet is going to work much the same. We can add more entries here right in the inspector. So let's add a test. Maybe we could add another one. Test two. And if we try to add another similar value, a duplicate, of course, it's not going to let us. And it says invalid key. Now spawn config for the tpple looks just like what you would imagine. And for our nullable, it says that it's null right now and it allows you to create a value. If you click the create button, it exposes all the fields that you need for that particular type. Now, the only thing I'll say about this in comparison with Odin is that this is very lightweight, and I don't know how battle tested I would say that it is. So, if you have a game that has very complicated nested polymorphic types, you might just want to stick with Odin serializer. In fact, some developers use Alchemy for the inspector attributes but still use Odin Serializer for serialization tasks. But if you just have a simple game and you want to expose a dictionary or a hashet to the inspector without waiting for Unity 6.6, then maybe this is the right tool for you. Now, I just want to take a look at one more interesting feature that comes with Alchemy, and that is the hierarchy customization. Let's take a look at what's going on here in project settings. So, here we've got some features. We can enable a toggle to enable or disable a game object. The ability to show component icons, showing a tree map, which gives you nice little lines in the hierarchy and allow zebra striping or separators. So, so if I turn them all on and then I mouse over the hierarchy, which makes it refresh, you suddenly see we've got all these features enabled. Let's just grow that out a little bit. So, we've got a little bit of a nicer view. It's very easy now to enable or disable a game object just with one click. No going into the menu.
We can see at a glance what kind of components are on this game object. And I personally like the zebra striping.
Now, if we right click anywhere in the hierarchy, we can start adding headers.
We can just go down into the alchemy section here. You've got the option to add a header or you can actually add a separator. Both of these things can be removed in builds and in play mode if you want. Now, Alchemy supports one other thing that I'm not going to get into in this video, but you can definitely check it out, and that's [music] the ability to make powerful editor windows and more tooling than just for the inspector. So, similar to what you can do with Odin, [music] where you can have all these custom editor windows where you're building out your inventories or your data sets, you can do the [music] exact same thing, maybe a little bit less fancy, but similar functionality. It [music] can all be done with Alchemy. But unfortunately, that's all I've got time for today. So, if you're interested in something similar to Odin Inspector, but for various [music] reasons, you don't want to use Odin Inspector, consider using Alchemy. If especially if you're already using Lit Motion, why not? So, join us on Discord if you're so inclined. Hit that bell. There's a new [music] video every Sunday. I'll throw another video up on the screen. Maybe I'll see you there.
Related Videos

6:13
Computer Science
TOP 15 Data compression Interview Questions and Answers 2019 Part-2 | Data compression | Wisdom jobs
wisdomjobs
281 views•2019-06-28

27:51
Computer Science
CTS 158: 802.11w Management Frame Protection
ClearToSend
4K views•2019-02-04
23:21
Computer Science
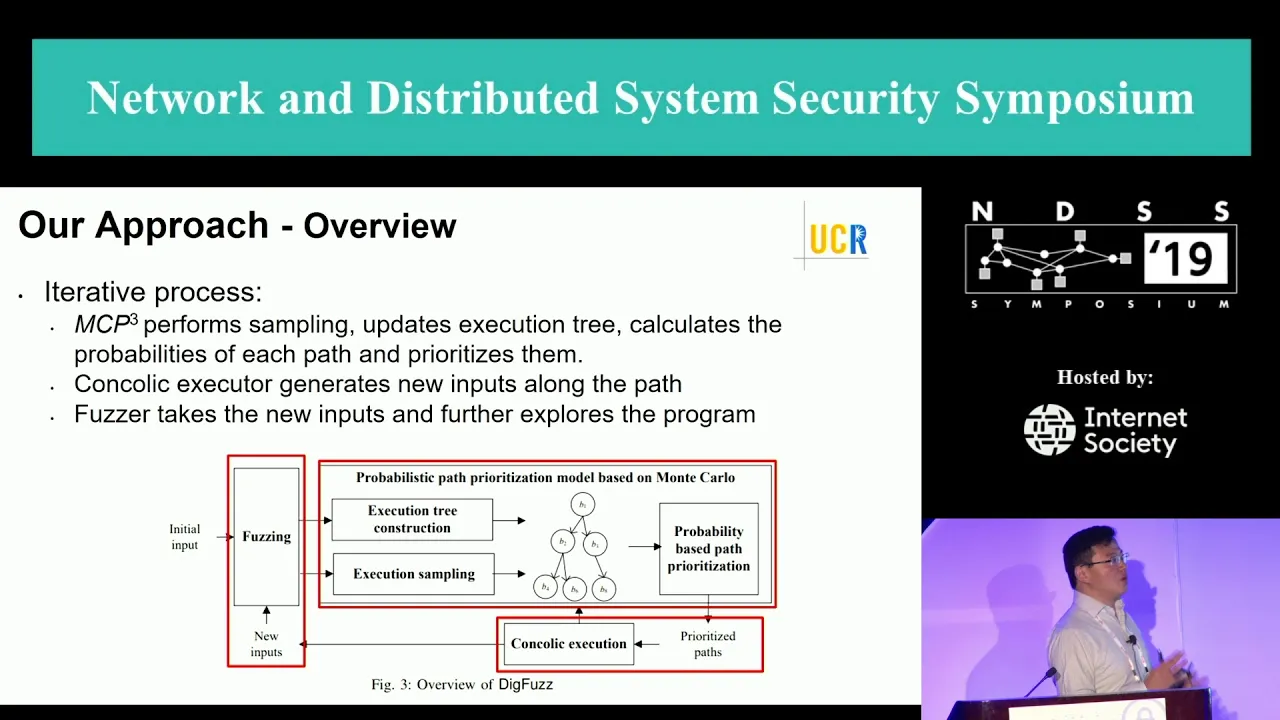
NDSS 2019 Send Hardest Problems My Way: Probabilistic Path Prioritization for Hybrid Fuzzing
NDSSSymposium
496 views•2019-04-02

12:48
Computer Science
How realistic is Cities: Skylines?
CityBeautiful
159K views•2019-02-14

46:39
Computer Science
GUIs & TUIs: Choosing a User Interface for Your Python Project | Real Python Podcast
realpython
2K views•2025-04-04

25:15
Computer Science
The OSI Model - Explained by Example
hnasr
225K views•2019-05-12

1:10:47
Computer Science
Cloud Computing - Introduction
elithecomputerguy
98K views•2019-10-07
2:24
Computer Science
From Traveler's Dilemma to Dynamic Routing | Demystifying Networking
IITBombayJuly
5K views•2019-08-04
Trending

13:38
Law
WOW! Judge TURNS THE TABLES on Trump in His OWN $10B LAWSUIT!!!
MeidasTouch
197K views•2026-07-23

13:25
Business
Playstation NO DISC/NO BUY Fight Is Over...
DavidJaffeGames
4K views•2026-07-23

22:40
Business
Steam and Xbox Just Dropped The Hammer On PlayStation
OhNoItsAlexx
9K views•2026-07-23

16:52
Anthropology
Americans Confused in Australia for 17 Minutes Straight
IWrocker
17K views•2026-07-23