This video demonstrates the 12 principles of animation, specifically focusing on squash and stretch for creating the illusion of weight and volume, while teaching industry-standard practices for selecting and animating only curve controllers in Maya rigs, avoiding null groups, constraints, bones, and joints, and using the script editor to create efficient selection sets for streamlined animation workflows.
Install our extension to search inside any video instantly.
RIG Azri jump
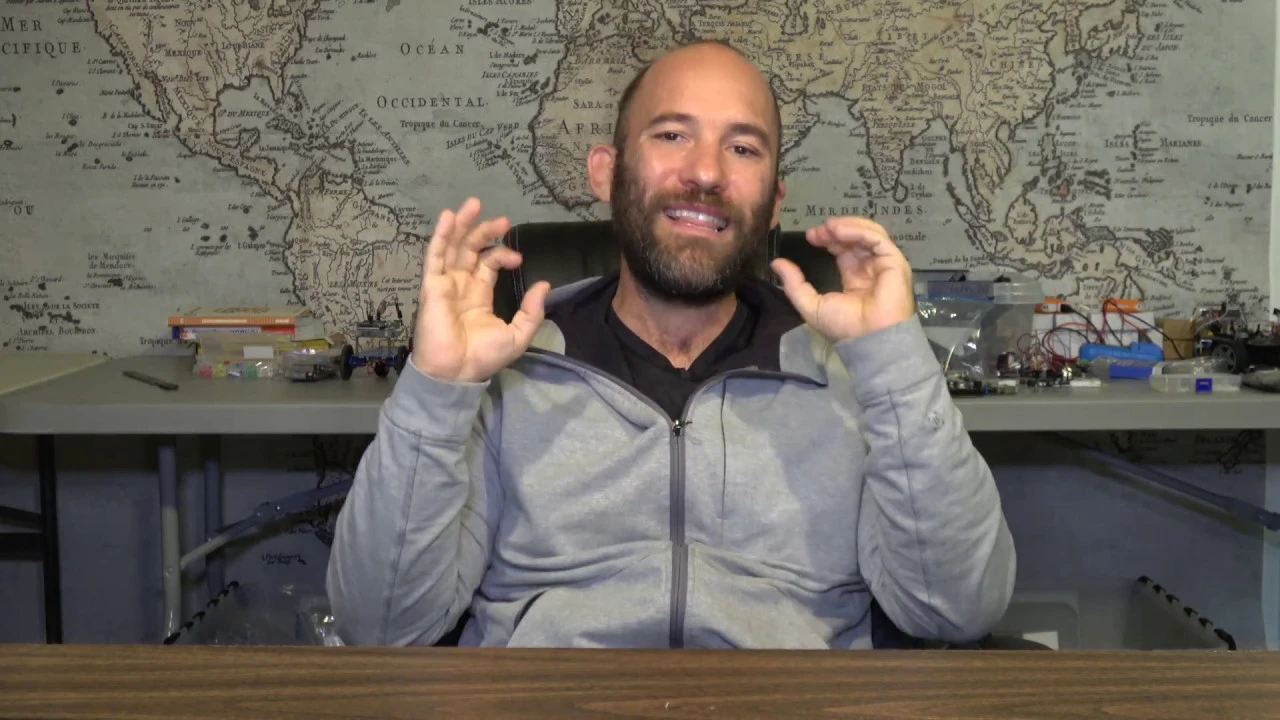
Added:okay so we looked at the 12 principles of animation video um Thomas and Oli John this one here called the illusion of Life squash and stretch this action gives the illusion of weight and volume character as it um the illusion of life principal of Animation it's pretty easy to find on you to okay so what we've done is uh what we're going to do is make a new shelf and I'll give it a name I'll just call it anom okay all right um we've downloaded the osy rig um we're only working with controls and the controls are the curves and you can see the icon here for a curve what we don't want to do is move a null group we don't want to animate uh at least usually a constraint we don't want to animate um bones or joints um and this case these are being driven by um a constraint um but we don't want to animate those so you got to be really careful uh both in rigging and animation again here with the selection mask turn everything off but the curves so that's the industry standard for um animation so what I just did is I I took this main curve and I moved it back and I maintain that this main curve is best used to just position the character and then I tend to forget it okay now there are controllers on this rig that will move the character so uh there's the foot and so after I move something I always hit Z to put it back where it was so both the foot controls you can move um you can take take this main um waist control and you can move that so um let me see here okay and then um this one right here is a uh twist control for the leg but fortunately that is parented to the foot so we really only have three main controls to worry about in order to move the character forward okay so rather than coming in and selecting each one of these every time I want to move them or key them now here's our first uh look at the script editor so if we come down here to the lower right open the script editor or we can go to Windows um General editor script editor okay the script editor has two parts um it's got a history window and an input window and it's really cool the history window because it spits out a history of every command that you've run okay so what I'm going to do here is I'm going to take this icon I'm going to clear the history and now I'm going to come back and I'm going to select those three translation controls so I'm going to select uh this box I'm going to shift select the other foot box and then I'm going to shift select the red um uh hip control okay so we can see here select so what I'm going to do is I'm going to select these that this is from the history um control middle Mouse button I'm making these bigger what I'm going to do is I'm just going to middle Mouse drag them down to the input now on the input we see that these are now highlighted in teal and they are um they have the uh italis italics on them this means that that's a Maya command okay Maya commands also have flags and so what this is saying is Select recursive um the control um the the control L foot control so that's selecting and then select toggle uh the right foot control and toggle the root so I'm often going to key all three of those at the same time so I'm going to just select it middle Mouse drag and I'm going to put this on the Shelf okay so now what I have so if I click here um now nothing is selected and then if I click up here on the M it automatically selects the feet and the hips yeah what's the difference between R and uhhuh what's the difference between them um well one so they stand for recursive and toggle the recursive means that say if I had you know a bunch of stuff selected but if I just did the recursive and then that it's going to deselect everything else and just select those so we're going to get into these commands more and these commands all have Flags um if we put them into python they will be in parentheses where they're often true or false whatever the flag is if I rightclick this go to edit okay so here's the commands and then if I go over to the shelves tab um then I can see this button um so it's it's just a command button um I can give it a label so I'll just call this um TR just for translation for the icon label and then just click save all shelves okay so now I've got a a button that selects my translate controls okay um so now what I'm going to do is uh let's start animating so we don't run out of time so we're going to animate a jump all right so what we're going to do so let's start by um taking uh selecting the hip and then we're just going to move it down you can see how the ik works there with the with the actually no sorry let's start at more of a like a neutral pose so here what I'm going to do is just make maybe move this one back a little bit um I'm going to go to the uh shoulder and I'm going to press the E button that's for rotate so I'm going to rotate that down a little bit um from the side I can rotate it back a little so essentially what I want to do is just make the character look a little more natural um these don't have to be um you know exactly symmetrical I'm just trying to make them look a little natural and you could maybe even turn the head a little bit if you wanted okay yeah so the idea is just you know not to make it look like it's starting from uh you know like a like a Frozen character okay so I'm on frame zero I set this first pose it's is sort of natural okay now what I'm going to do is I'm going to select all of the controls again just the curves um and I'm at frame zero and what I'm going to do is just hit the S key and that's going to key frame put it put the first key frame on every one of those controls okay all right so that's frame zero we're going to animate at 30 frames per second um and if you're not set at 30 frames per second then you can change it here so 24 frames per second is film we'll do 30 frames per second for animation okay so if I were to um come down to um this anticipation for a joke so uh 1001 10012 maybe about a half a second that'd be about 15 keys so I'm going to move to frame 15 15 or 16 it doesn't matter so now what I'm going to do is uh then take this one um let's move it down um I'm gonna move it back a little bit okay um I could rotate it yeah let's just do that for now just to okay now I could just come in here and now watch How I select the um the uh controls for the spine so I'm not grabbing all of them I'm just grabbing these three yeah I'll do it again so I've got three I I've selected um okay I think I might have selected more than those let's do do it this way okay so I'm gonna just rotate those and what happens is it um rotates all three of them so you get kind of a Bend for the head I'm going to move the head up now the hair is going to kind of intersect the body there are hair controls we're not going to worry about them right now okay so if I come down like this um my knees aren't bent too far forward but my hips are bent a little further backward so that tells me that I should probably you know move back a little bit I might have come down just a little too far okay now I forgot to tell you guys to turn on auto key frame so I'm going to turn it on on that's this red button but I should have done that before I did this pose so now what I'm going to need to do is just select them all again um and hit s okay so now you can scrub back and forth between 1 and 15 you got the character um moving down yeah so that's one and 15 now uh I talked about anticipation so we're going to come down um and what I want to do is kind of hold it but also kind of Swing the arms back so um I'm going to swing them back uh more after the fact so uh hope hopefully this will make sense here so I'm coming back to 15 I'm going to grab uh okay so I'm gonna grab uh the two shoulder controls again I'm at frame 15 I've got auto key on the little red button here I turned it red now I can um if you see the green axis here that's the axis that they're rotating on so I'm just going to rotate this forward a little bit now because I've got auto key on it's automatically going to key frame them there yeah louder please where did you say auto key was auto key is in the lower right hand corner see where my mouse ISS oh yeah yeah thanks for asking any other questions okay what do you mean a little bit detail about the toes the toes should we move the this way if you want yeah okay so I've got the first key frame to the second key frame where the character is moving down and now what I want to do is put in the um anticipation so I'm going to go like maybe to frame 24 actually let's go to like frame maybe frame 20 uh I'm and I still have the shoulder selected so I'm going to move them back now and um I'm also gonna sort of uh grab these Keys here um on the Torso and have them come down whoops have them come down even a little bit more uh and I might might want to even straighten them a little bit more and just to show maybe a little bit of overlap and follow through even going to sort of rotate the uh the hand back okay so that was a little quick when the hands went back man I wonder if I accidentally deleted my um frame 15 Keys No okay so now I'm going back to frame 15 um I'm just going to bring the arms forward a little bit because I think they were moving too fast okay so now they come down and her arms go back they go back a little too fast so um here's what I'm going to do something about key framing you should know now everybody look up here for a second everybody look up here please okay with the left Mouse button I can drag the slider and everything will update with the middle Mouse button I can drag the slider but it doesn't update now this is on purpose because it allows you to um set a key frame at a different point so this is what I'm going to do with the left button I'm going to go here now with the middle M button I can move it out a little bit further like maybe to 28 um and then I'm going to set a key here and then I'm going to delete right click and just delete frame 20 so with the middle Mouse button so again left Mouse button um left Mouse button will update the whole thing middle Mouse button won't update it so you could maybe get to like a pose where you want it to go then middle Mouse button to you know add a key with that same pose it's almost like copying and pasting poses okay so now what I'm going to do something called a moving hold and I'm just going to sort of keep everything in the same place so um I'm going to add an yet another key here for everything so I've got it all selected I'm on 36 and so like from 28 to 36 I'm holding I'm I'm holding the key now when you do that it's uh probably a good idea to um you know add some more uh variation to it so that it's not just um you know Frozen in place okay so here we've got the lean down and a uh anticipation and so the next key is going to be uh a jump up so if I'm here 1001 1002 10000 again maybe almost a second so I'm going to go I don't know let's let's go to maybe frame 58 60 and so now what I'm going to do is I'm going to move the character um and I told you guys earlier that I I I um selected these you know the hips and the uh feet um as translation controls so again I'm up to frame 60 here and so I'm just going to click that and those are the only ones I need for now and so now what I'm going to do is move the character up and [Music] over okay yeah we select which button to like the that's why that's why I made a a uh okay all right um so now I'm going to take both the feet let's move move them back in ik um let's uh rotate them here oh never mind uh I want to rotate them with the these controls now the thing about ik it can get a little squirly so as I rotate the foot down you'll notice that the leg looks like it locks so you usually don't want that to happen so um I'm just going to bend it up a little bit or push it up a little okay now I'm going to grab um just all those Mo motion Keys again I'm going to come up just a little bit further um okay and so by now then I'm going to take these keys and you can make a selection set for those as well the same way we did earlier let's put a little bit more of a uh a curve in those and this one I'm going to move a little bit more forward and then I'm going to take the arms and I'm going to bring those up so selecting and rotating let's take this and just move it down a little bit so the main thing here is you know I want to get a good pose you want it to look natural so let's move that out a little bit this out a little and I'm going to take both of the um wrists and sort of rotate those up a little okay and so I've had auto key frame on there so now let's just go ahead and right so there's the bend down the uh anticipation um the holding the anticipation and then a jump up okay and what do you guys think about the timing here okay now remember I'm keeping this controller where it was I'm not animating this so I'm going to hit the trans key again um and then just maybe move it up a little higher a little bit more forward take these and move them up so we we're really just blocking things out we're just getting the main timing okay now I'm going to go to the uh next key I'll maybe put that like at uh I don't know maybe 78 now what I'm going to do is go to the Str key again I've moved to 78 hit the W key for move and I'm going to come over here and go like that and let's take the legs and push them forward let's rotate them up the feet that is so this is the landing can rotate this up a little bit with these torso controls I can straighten out the back a little okay so so the hands are still sort of up when uh when the character first comes in contact with with the floor okay and then we've got some overlap and follow through and that's going to happen maybe move up to [Music] 92 so then I'm going to take just uh this key I'm going to move it down I'm going to take uh these again rotate them e and then with the arms I can oops select those rotate them down and I could rotate the head down okay now what I like to do uh there are other animators that would disagree with me but just in order to keep track of my keys um I like to go select everything um and if all my controls are selected you'll see where all my keys are and with the period and comma or the um forward Arrow or backward Arrow I can um with everything selected if I hit s go to the next key s next key s next key s next key s next key s next key s so what I'm going to do now is I'm going to go to My Graph editor um so if I go to Windows workspaces um I'm going to go to [Music] animation and then I've got all my um you can see all of my key frames here for everything that's selected and so in the U in the graph editor you can adjust them okay so she goes down back jump I think that might I think the timing of that might have been a little slow um I'm also going to look at this and I'm going to look at the Translate Y okay so this is uh I mean this is stuff that I would talk about much more and the animation class this doesn't have to be perfect I just want you guys to understand what you're building what the animators are going to do with it and you know I think you should uh have a spend some time animating in order to and play with a rig in order to you know just get an idea of what it is you're doing when you're rigging okay so this doesn't have to be perfect but if you if you notice here this is the Translate Y of this of the hips um key so it mov moves up and this is the slope of the curve of uh height it's the value over time the y y curve happens to be the height so it jumps up kind of fast but the curve is a little more shallow On The Backs side so what that means is it's going to come up come up faster and then go down slower but uh that isn't how physics Works um it's it's going to come down about as fast so I'm going to come back again and select everything and so I think what I'm going to do is just move a few Keys around so um I think I'm just going to take the last two sets of keys and I'm going to move them and the way you move them if you hold down this okay hit W so selected all these Keys make sure everything is selected so it's the shift and middle Mouse button and then I'm just dragging it back in time a little bit just to kind of speed it up okay now um I'm going to make another in between key because right here the feet would still be pushing off so I'm going to take the feet and I'm going to just take them and push them back down a little further auto key is on okay so this is what you do if you're animating to block out a move um it's not an animation class but I just again you know want you to be able to do this I'm also going to want you guys to do just a simple walk cycle um I think what I'm going to do is make a video for that because um we won't get through it so uh you know this is essentially you know uh you you come and show up do your best make a jump I'm going to have you do a walk turn it in it'll be due on Tuesday and then we're going to start we're going to start rigging but this just to introduce you to animation key frames ik FK and um overlap and follow through that kind of stuff now um there are more keys that we could add it so for instance at frame 15 so so if we if we open the hair we make the hair controls visible okay okay so I'm going to take off the base controls but just make the hair controls visible well I guess I can't do that so base yeah yeah so this is probably where I would make another selection set go to anom so let's open the script editor let's clear the history so I'm just going to select these hachy hair curves so where are they I'm just going to select one of them and come down and see where they are in the hierarchy okay so here's the head there we go so there are there's the hair controls so I'm going to pick uh these three curves and you can see here I selected them middle Mouse drag and let's just put them up here right click um I just call it hair one save shelves okay so frame one um I'm going to make sure that I key them or frame zero rather um as we go down to frame 15 you can see that the hair penetrates through the body so here I'm going to want to to you know rotate them out looks like I need to go up uh further a little bit too like maybe to This One X okay then for these yeah that's just going to be uh it's a little the reason I have you guys look at this rig because one it's from a uh you know it's from this uh book it's this website's got some good um references on it but it also um you know has this complex rig here oh dang it yeah and then so I need to come back and key these top ones put them back where they started oh that one wasn't keyed yeah so you have to kind of put like an anchor key in you know and then the next key but so you know this is making the hair you know stay out um you'll also notice that there are um controls for the um cloth okay so let's start here so these are these little boxes so what I'm going to do is um I'm going hit Q to just get in selection mode and I'm going to select each one of these boxes okay so I'm GNA at frame zero I'm going to hit s to key frame them and then at frame 15 um I'm going to rotate them out so that they should they go yeah so I'm I'm rotating them up so that oh brother okay what's axis are they WR okay so they're moving on the Z axis so go here to frame 15 take the Z axis which is this one so I'm rotating them up so that they you know they stick out from the uh um maybe I should just do one at a time okay C AIS yeah so I mean I'd have to Fumble around with that a little bit more and kind of slowly take the the the cloth and kind of maybe add a few more keys in when I animate it but uh so this this is why I'm showing you this rig we've got controls um for the cloth we've got controls for Twist joints controls for fingers controls for hair um but you're usually not going to worry about the hair fingers all this other stuff till you block in you know like the main motion um I can tell you there's something else going on with this here I need to look at the Z translate oh that's okay I guess okay so in my animation class we use a much simpler rig to get get walking and Locomotion down um this is going to be a very complex game rig um you know probably be for a uh you could be for like a AAA title now we're in a point in time where using engines like unreal Unity where a lot of this stuff like cloth and hair could be set up to just um take advantage of physics and a game engine so um I think what we're going to do is look at both of those options um hopefully we'll have time to look at how we would just set up the hair for um you know animation in a game engine uh it's still going to take a lot of setup and finesse if you're in unreal um a lot of times it's probably easier to simulate it in Maya and then bake it all out um that's something I will talk about also um on Tuesday so is this helpful to kind of get a better idea of how rigs work okay so we're we're doing this jump um I'm also going to have you submit a simple a very simple walk and I will provide you uh a video instruction for that I'll probably have that done by Saturday and then uh you want to have it done on Tuesday okay and I will update canvas so you have a place to submit it and then on Tuesday we're going to get rocking and rolling with uh um creating skeletons and doing skin weighting and start at the beginning um but there there's a specific reason why I want you to do a walk cycle and it has to do with um the hips now uh see what I'm doing here with the hip hips the hips are rotating independently um that's why I want you guys to to to animate a walk so that you understand how important it is because you're going to have to rig it okay I I I had when I first taught the class A couple of times I just got right into the rigging and I didn't really show the animation and that was a mistake I should have showed it first so any questions all right so I recorded this I'll post it probably won't be able to get it up until Saturday um because I got a lot of stuff I got to do with Department stuff this week but thanks a lot have yourselves a great day
Related Videos
6:13
Computer Science
TOP 15 Data compression Interview Questions and Answers 2019 Part-2 | Data compression | Wisdom jobs
wisdomjobs
281 views•2019-06-28

27:51
Computer Science
CTS 158: 802.11w Management Frame Protection
ClearToSend
4K views•2019-02-04
23:21
Computer Science
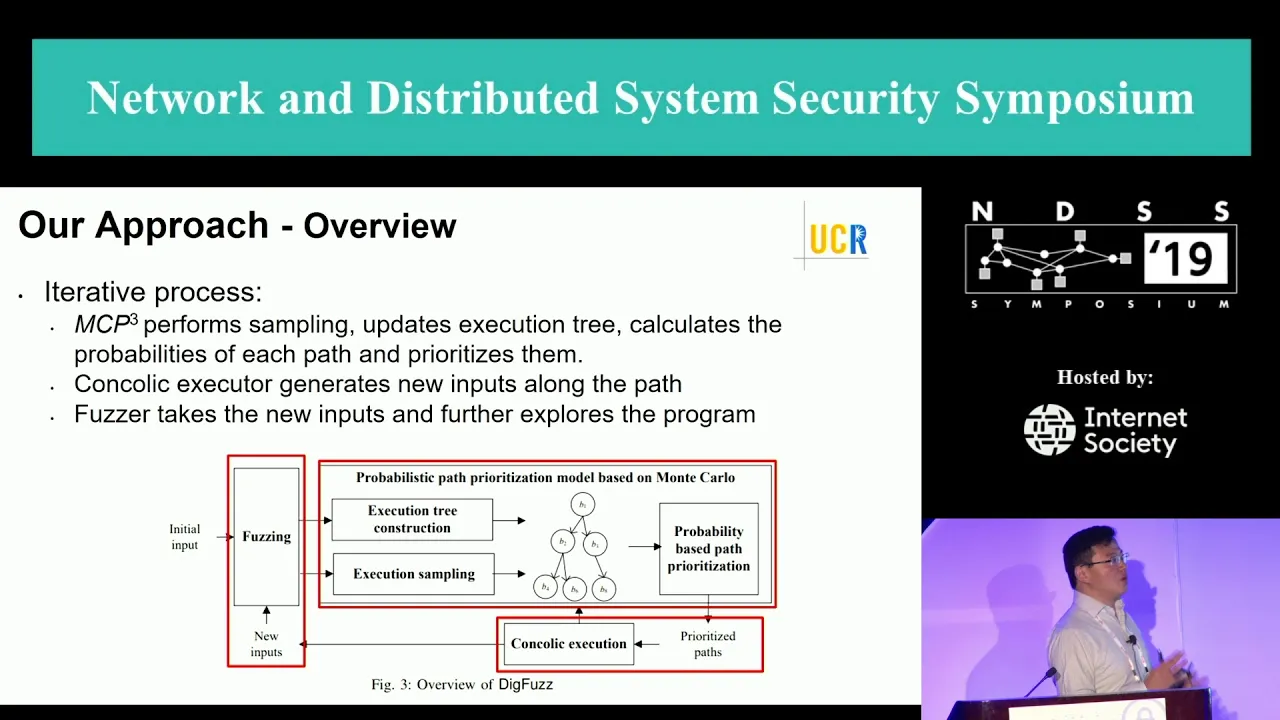
NDSS 2019 Send Hardest Problems My Way: Probabilistic Path Prioritization for Hybrid Fuzzing
NDSSSymposium
496 views•2019-04-02
12:48
Computer Science
How realistic is Cities: Skylines?
CityBeautiful
159K views•2019-02-14
46:39
Computer Science
GUIs & TUIs: Choosing a User Interface for Your Python Project | Real Python Podcast
realpython
2K views•2025-04-04

25:15
Computer Science
The OSI Model - Explained by Example
hnasr
225K views•2019-05-12
1:10:47
Computer Science
Cloud Computing - Introduction
elithecomputerguy
98K views•2019-10-07

2:24
Computer Science
From Traveler's Dilemma to Dynamic Routing | Demystifying Networking
IITBombayJuly
5K views•2019-08-04
Trending

13:38
Law
WOW! Judge TURNS THE TABLES on Trump in His OWN $10B LAWSUIT!!!
MeidasTouch
197K views•2026-07-23

13:25
Business
Playstation NO DISC/NO BUY Fight Is Over...
DavidJaffeGames
4K views•2026-07-23

22:40
Business
Steam and Xbox Just Dropped The Hammer On PlayStation
OhNoItsAlexx
9K views•2026-07-23

16:52
Anthropology
Americans Confused in Australia for 17 Minutes Straight
IWrocker
17K views•2026-07-23