This video teaches the knitted cast on method, a quick way to cast on stitches for knitting, and demonstrates the basic knit stitch. The process involves creating a slip knot, then repeatedly inserting the needle into the front of each stitch, wrapping the yarn around the needle, pulling through to create a new loop, and dropping the old stitch off. The instructor emphasizes that knitting boils down to two main stitches: the knit stitch (creating V-shaped stitches on the front) and the purl stitch (creating bumps on the back), which can be combined to create various patterns like garter stitch, stockinette, and ribbing.
Install our extension to search inside any video instantly.
Quick Start How to Knit | Right Handed
Added:Are you ready for a quick start into knitting? Well, today I'm not going to give you a whole bunch of extra stuff, but I will show you that down in the video description below, we have right and left-handed video tutorials in 12 lessons for how to knit. And that very first lesson one, that is going to have our garter stitch.
It looks like this. And it's actually going to show you how to get the yarn on the needles, make the main stitch, and actually bind off, getting the yarn off.
But today, I'm going to give you a quick way to cast on. It's not the standard confusing big slingshot method. It's a quick way to cast on, and it's called a knitted cast on, and we'll do a main knit stitch, and you'll get this kind of look. And stay tuned at the end, and I'll tell you what these different stitches are. So, if you're looking to know what they are, to what to look for, because a lot of times you don't know the terms, and that's okay. We'll do that at the end of the video. So, go grab some light yarn and some nice smooth needles. If you think it's going to be too slippery, then get you some wood needles. These are my metal needles for my grandmother. They're size US 10, and they're also 6-mm size. And then this is a bulky five-weight yarn, but pick whatever yarn kind of speaks to you, and look at the back and see what recommended needle size it is. You can always change your needles up and down if it's too tight or too loose, but for now, just grab what's on the recommended back of your nice light-colored yarn. So, grab your yarn, grab your two needles, and we're going to begin.
Welcome to GoodKnitKisses.
>> [music] >> We're all about helping you stitch your love and love your stitches.
Be sure and find the left and right-hand video tutorial down below, and click on our blog link for how to get started on knitting. So, you've got your yarn, how do you begin? Well, you can take this band off, this little yarn sleeve, and find a yarn that's on the outside, like this loose part here, put it in a bowl, and just start going and pull. But if you want to do that center pull that's coming from the middle that you've seen people do. You have to go into the side. I'm going to just put this back away. Just go into the side of your yarn here and you just pull out the inside. Now, you may have to hunt for yours. I pulled this out earlier. You can see now there's some yarn coming out. So, now you have to deal with this mess.
What is that called? Well, we call it yarn barf, of course. What else are we going to call it? So, so you're just going to pull this out and find the end or your tail. So, I found the end here and just make sure there's no knots in this and I think I'm pretty good. So, I'm going to put all the rest of this to the side.
Go ahead and pause your video if you need to. You can speed this up and slow it down if you need.
So, we're going to make a slip knot.
Now, you can make it a ton of different ways. It really doesn't matter. Whatever works for you. But, the way that works for me really well is to take my big tail or my my end of my yarn here and wrap it around my finger twice. One, two. So, I have two loops. So, now I'm just going to take the back loop and put it slightly in front of this front loop.
Right there. And then we're going to take the new back loop here and take it up and over the tip of my finger. So, pull it over.
And now I have a slip knot, right? So, we've got this little loop that can close. You pull it to get it tight, right? So, now we're just going to place this on one of our needles. Just like that.
And I'm going to hold it in my non-dominant hand, okay? So, I'm holding This is my dominant hand and this is my other hand. I'm trying not to say left or right cuz my video gets flipped for left-handed people. So, we're just going to take this and put it down at the end.
I pulled it a little bit tight, but I've got kind of a tear teardrop shape on here to give myself a little bit of room. And now we're going to pick up with our dominant hand, our main hand, and put the tip of this needle in this stitch. You always approach it from this direction here unless otherwise, but when you're first starting to learn, you're doing it like this, okay? So, we're going to take our um our yarn that's coming from our ball, our yarn ball over here, and we're going to wrap it around this needle that's uh down here, the one on the bottom, okay?
So, we're [snorts] going to wrap it around like this. So, we're coming underneath, we're going towards our opposite hand, and wrap around the top part of that needle that's in the back, all right? And then just kind of drop it for now, and we're going to pull this through. I kind of hold on, well, I said drop it, but I kind of hold back on it, and then I grab this needle, so it's giving it some tension, so it won't just fall off the end. So, grab it, and we're going to pull this tip all the way through, we're going to slide it. What I do is I touch this to um the other needle. I touch both needles together, so the yarn doesn't slip out. And then I kind of rotate it, and pull it back like this. So, now we've pulled a loop through our slip knot, right?
So, once we pull that loop through our slip knot, just kind of pull it out like this. So, we're just going to twist our hand out, and you can see both of these loops, all right? Now, you're going to take this one over here on this other side, your non-dominant hand, and you're going to put the tip of this needle into the front of this other stitch.
Going to put it right in the front of that loop, okay?
And now, we're just going to let it stay on this over here, so I can put my finger, and drop this one with our dominant hand.
You see, I've got a loose loop here. I'm just going to take my yarn, and pull on a little bit, and now we have two stitches on our needle. We have cast it on two stitches. The slip knot is our first one, and this next stitch is our second one. All right? So, let's do that again. If you didn't get it, that's okay, we'll do it again. You can start again with the slip knot, or you can start again with this one. Again, pause your video. All right, so we're going in just like this to what we call the front of the stitch.
And I like to think of it as like uh a cowboy is sitting on a horse, whatever you want to say. Okay, he's got a right leg over and he's got his left leg over and we're going to go into uh into this leg. We call that the leg of the stitch. We go in here and now we're going to take, I guess you'd call it a lasso, we're going to go wrap around. Okay, some people call it a tree, some people call it other things.
We're going to wrap around just like we did and put it all the way around this bottom needle and we want to bring our needle up so that we're pushing this new loop through. Okay, so let's do that again. We're inserting our needle, we're wrapping around, and then we're going to pull this through. Just kind of pull it through. So, you see how I'm touching the needle to the other one? So, when I pull through, it's not going to drop.
And then we just rotate out like this so we can see it. We're going to put in our other point of our needle into the front of that stitch and then drop it off, right?
And then you can pull on that yarn a little bit to get them all a consistent uh size of stitch. This part back here is not the same as this tip. You can see that the tip or point of the needle is smaller, so you want everything to come back on the main part and it makes them size the same size, right? So, that's why you have to pull this up a little bit. So, you got three stitches. Let's do it again. We're going to put in our uh needle, wrap around, and pull through, twist, and then pick up that stitch with this other needle, and then drop it off.
There we go. So, we're going to keep doing this. I'm going to show you what it looks like to keep to keep going, but we're going to keep doing these stitches until you have uh 12 to 24 stitches. Um what we have a free pattern on our website of how to make a garter stitch scarf and with this size of needle and yarn, I would say 18 stitches. So, if you use this, if you use a bigger fatter needle and a fatter yarn, maybe you do 12 stitches. If you do something a little bit skinnier, maybe you do um 24 stitches. We're trying to aim to get about a 6-in wide piece of um scarf going, okay? So, we're going to keep going. You just keep that stitch up until you get on all your stitches, okay? This is the knitted cast on.
And pause your video, meet me back up when you have the amount of stitches that you want. We'll see you in a minute.
Okay, so we're back. We've got however many stitches you want. I've got 18 on mine. You could have 12, 24, whatever number you want for the width that you want. Uh it is going to grow a little bit wider than you may see right here.
Um what I'm going to do is I'm going to kind of push all these down to the end, so they're all together. I'm going to hold onto it here and I just kind of use my finger to kind of feed that next stitch on there and keep them from dropping off, okay? So, now we're going to take our um our needle, this this free needle in our uh dominant hand and we're going to go into the same stitch just like we did before.
This is actually easier than what we just did. So, we're going to go ahead and wrap around just as we did before.
We're going to pull that stitch through, okay? And now, once we have that stitch, we're going to drop off the old one. You can push it with your finger or you can push it with your needle. Look at that.
It's off and it's okay. It's okay that it fell off because the new stitch is here.
So, we're going to go into the next one, wrap around, and then pull that new stitch through like this and then push that old one off, right?
Go in here, wrap around, pull that stitch through.
Okay? And then push the old one off.
And you can see it's a little bit longer over here than it is over here.
So, I'm going to do a couple more.
And this other video series that I have is way slower. It goes into all of the details and um I think it's better than this one, but sometimes people just want something fast and they want to just see it really quickly before they dive in.
So, be sure and check out that series if you want something much slower. I'm just going through these stitches fast here now. Let me go through these uh next one slow. So, we just go into the stitch, wrap around, and pull through.
Oh, also the other video series I have, if you look in the description comments, you can see timestamps and you can jump to the sections that you're having trouble with. So, you'll be able to go directly to that trouble spot or if you want to bind off, it's all in the comments or in the description um description of that video. I'm going to get to the end and show you what happens when we finish a row. So, pause your video and get to that point.
And see, I just dropped this one off. I just dropped that stitch. Let me pick this right back up.
Okay.
And there we go.
All right. So, we've got our stitches and we're going to um see our row and you can see it kind of has this sort of V-shape stitch to the that knitted stitch there. That's what a knit stitch looks like. And when we turn this around, you see the back of the row and you see this bump. That's called a purl stitch.
We're [snorts] only going to knit these stitches. So, every other row is going to have a little bump out like this and it's going to be bumpy on each side.
Okay?
So, we're going to make this knit stitch again. We just go straight into that stitch, yarn over. That's what wrapping this yarn around is called, yarn over.
Pull through a new stitch, and then drop the old one off.
Go into the next stitch, yarn over, pull through, and drop the old off.
Insert, wrap, make a loop, so pulling through, and drop the old off.
Insert, wrap around or yarn over, pull that through, drop the old one off. And look at, you can see that little bump from before, that purl stitch, and then down here are those V-shaped stitches. Those are the knit stitch that you just did. And on the other side, boom, you can see those little bumps there. Some people say they look like a scarf wrapped around the neck of someone.
So, the front of your scarf has these two long pieces, and the back uh where your neck is, has the little round bump part, if that helps. I'm going to go through this row real quick, and you're going to see how it grows.
Don't worry, you're going to be slow when you first start. You cannot start walking when you're an infant. If you're starting something for the first time, be kind, be patient with yourself. When babies are born, they are not born walking and running. They're not talking.
They're learning, and they're growing, and they're doing things over and over until they get it right, and they grow, right? So, that's what we're doing.
I did not start knitting the first day and was a master. I don't even still call myself a master. But here we go, look, I've got two rows done. Look, it's already started to grow, and it's a little bit wider than you saw in the beginning, right? So, now it's looser, okay? Turn over, and we're going to start the next row.
That's it. And you just keep going on this until you get the length that you want in your scarves or your washcloth or whatever you do.
Okay?
If you have stitches that are way too loose and you think you they've got big holes in them after you've gotten maybe like 4 in done and you just think, "Oh, wow. My stitches are too big and open."
Then maybe what you want to do is try a different size of a needle. Okay? So, you would go borrow or from a friend or buy a new needle size that's smaller than what you have now and that will make those stitches a little smaller. If you find that it's too tight and small, you may want to go up a needle size. So, go ahead and try those things out. Please be sure and check out my videos and I'm going to go ahead and show you some of my examples now.
So, here's my examples. So, you're going to be working on a scarf that looks like this. This is called stockinette. It has all these ridges and things like that.
If you want something that is going to be very smooth like this one, this is called stockinette. And when you make only knit stitches in the round like in a circle like this, see this sock? It's in the round. When you make knit stitches in the round, it looks like this. They're all V-shaped stitches. Or if you want to make them flat when you go back and forth and you want to have them look like this, then when you turn to the other side, you have to learn how to make a purl stitch. And that's great.
So, you can do that on our how to knit the purl stitch lesson. I believe that's lesson two. And later on, you can combine making knit stitches and then purls in the same row and then when you turn it over, you do the opposite on the other side and you get something called a rib stitch. So, this is the garter stitch, stockinette, and the rib. Those are three basic stitches or stitch patterns, but really you only you to know one stitch, the knit stitch, and the second stitch is the purl stitch in order to do some of these other ones. So, really two main stitches that you learn for knitting, and you can do most anything.
Truly, truly, it boils down to two stitches. So, I hope you've enjoyed our quick set lesson today. Be sure and click out on those videos in the description, and we'll see you soon.
Thanks for joining us. Bye, everyone.
[music] Thanks for joining us today, where we help you stitch your love and love your stitches. See you again soon.
Related Videos
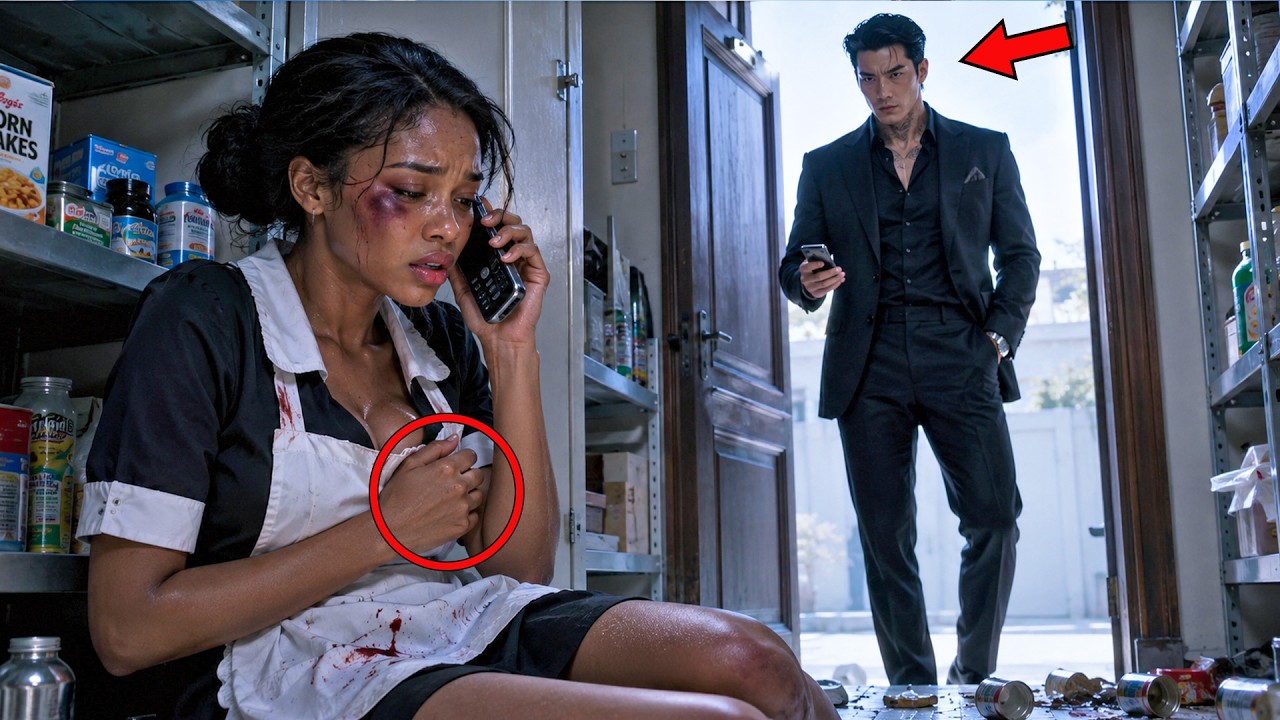
Can You Come Get Me” The Beaten Black Maid Calls Korean Mafia Boss—He Arrives in 17 Minutes
TheSingleDad-v4n
7K views•2026-06-18

DO NOT LIVE IN YOUR CAR AT 3AM..
TheRushStudios
29K views•2026-06-18

LIVE: Daily Mass | Thursday of the Eleventh Week in Ordinary Time | June 18, 2026 - 6:00 PM
diocesanshrineofjesusthedi1072
268 views•2026-06-18

I Am SHOCKED By Granblue Fantasy ENDLESS RAGNAROK on Switch 2
BoTalksGames
1K views•2026-06-18

We fished Buzzards Bay for whatever was biting and this is what happened! (Scup , tautog, fluke )
Reeleazyfishing
417 views•2026-06-18

MOST ELEGANT HANDBAGS & PURSE FOR LADIES/TOP STYLISH SUMMARY COOL DESIGN BAGS IDEAS 2026
BAGANDSHOESCOLLECTION
253 views•2026-06-18

SCORPIO PREPARE YOURSELF FOR THIS SHOCKING REVEAL THIS WEEK! JUNE 19 TO 25 TAROT READING
JenniferWalkerZen
117 views•2026-06-18

Today news nepali news | aaja ka mukhya samachar, nepali samachar live | Asar 4 gate 2083.
samacharpati
76K views•2026-06-18