A diffraction grating effect in Blender Cycles can be created by implementing the diffraction equation Mλ = D sin(θ), where M represents the diffraction order (0, 1, 2, or their inverses), λ is the wavelength of light (450nm for blue, 570nm for yellow, 650nm for red), and D is the groove spacing (approximately 1,600nm for CDs). The effect is achieved by combining multiple glossy BSDF shaders with different wavelength values (415-690nm) in a node group, then mixing them with a base material (glossy BSDF for sharp glints and principled BSDF for the underlying surface). Adding noise textures to the reflection creates realistic imperfections, while ACES 2.0 color management preserves the vibrant rainbow colors.
Install our extension to search inside any video instantly.
Diffraction Grating in Blender (Cycles)
Added:In this video, I'm going to show you how to make this diffraction grating effect using Blender's and Cycles. I've seen a lot of color dispersion effects for glass and bubbles, but none for chrome and foil surfaces like this in Blender.
I'll break down how to make this in a four-step process, and we'll also give you the files for free if you just want to download it. But before we get started, I wanted to say this material was inspired by Raphael Rau. He's an incredible 3D artist and recently posted the results of his diffraction grating material that he made using Octane's new physical optics material. They all look amazing, and I want to see if it's possible to fake this using Cycles.
Diffraction comes down to this one equation. M is the order. Think of it as which rainbow we're making. Zero would be there's no rainbow. It's just a plain mirror reflection. One would be the first rainbow, and two would be a second-order rainbow that's a little bit further out and a little fainter. This symbol's called lambda, which is basically just wavelength of light, which literally means color. So, with the wavelength numbers, 450 nm is blue, 570 is yellow, 650 is red. And D is pitch, which is the spacing between the microscopic grooves on the surface. So, for example, on a CD, it's about 1,600 nm. And this basically shows you the separation, the distance that different materials will spread uh the diffraction upon.
This equation takes those numbers and tells us the exact angle each color gets bent away from the normal direction.
Smaller grooves, wider rainbow. If this math doesn't make sense, don't worry.
It's pretty easy to follow as nodes, which is laid out right here. M will always be 0, 1, 2, or its inverse, 0, -1, -2. Just so you understand what M does, if I were to add, let's say a glossy shader right here, and I'll just plug that straight in. You can see our highlight is right here. We have one sun in the scene, and we don't have any HDRI or any other lights. It's just one sun.
So, that's our highlight. And then, if I were to add these two shaders together, you'll see our equation created this little purple highlight that's above that reflection. So, right there. And there it's combined. If we were to do the inverse minus one, you can see it's on the other side of it. So, for this shader, we're actually going to want to have double highlights on the top and the bottom. And then, if you do minus two, you can see it's even further out and a little bit fainter.
And if you were to do zero, there'd be no highlights. It's just showing you the straight reflection. Changing D shows you how far it's going to get pushed out from the actual um main glossy reflection. So, you see as I increase this number, it's actually getting a little bit closer. And then, lambda, which I mentioned was wavelength, is the color. So, 420 is this this uh bluish purple. And you can just kind of see as I go through, we have the full rainbow of colors.
So, I'm going to just go back with the values real quick. And I'm going to delete this.
This is essentially the full equation.
We just need to have a bunch of these with different colors as they disperse out, and we need to combine them all.
So, to do that, I put a bunch of these nodes in a node group uh right here. It's exactly the same as before. The only difference is that I added this one value node in. This in general just will let us really take that rainbow color and apply it to whatever material we want later without washing out the rest of the material.
So, basically, I have a a dark gray value here, and it's mixed with a value at a 0.95.
Um so, basically, only the rainbow will get through in our final shader.
And we also have all the same values right here.
But, this is super helpful because um well, actually let's preview it real quick so you can see it's still identical. I can still do the minus one here, for example.
And if I click this and I do control shift D, I have a second one right here.
And I want one to be um one to be a diffraction above and one to be below. So, I want this one to be minus one.
And to do that, I'm going to add a math node.
And I'm just going to do multiply here.
I'm going to multiply it by minus one.
I'm going to add shader.
We add these two together, preview it, and now we have the top and bottom. So, now we take this and we control shift D, duplicate it a bunch of times, offsetting the lambda and wavelength.
I use 12 of them running from 415 nanometers up to 690, basically 25 increments each.
That covers violet to deep red, which basically is everything your eye can see.
So, going past either end would basically result in fading out to black anyway, so when we have all these, we just do like a bunch of add shaders, add shader, add shader, and the result is this rainbow effect.
So, this is the start of what we're going for.
And right now you can see they're all distinct because we have 12 of them.
Um but it's starting to get where we want it. So, we want a base material as well so the rainbow isn't just on a black surface. So, I'm actually just going to paste in two shaders here. You can see the values. Basically, we have a glossy BSDF and a principled BSDF.
The glossy is really just so you can get that really sharp glint that these rainbows are shooting off from. And then the principled BSDF is underneath what everything else on the sphere is. So, this is pretty simple and I think all the values are pretty basic. The The other thing I'd want to do here is in order to get this rainbow feeling a little a little more smooth is inside the node graph or node group that we have, I'm going to up the roughness to something like.09 or.1 and you can see it starts to look a lot better.
So, the next step is basically just to add a bunch of lights and then also add an HDRI.
I have just a low HDRI that I think looks good. You can use anything really, but it's just to give it a little bit more realism so you can see something through the reflection here.
And each light essentially is one or two rainbows that appear. So, if your object doesn't have enough color, it's probably your lighting not your actual shader.
And in general, I like to use AGX or ACES 2.0. I actually think ACES 2 looks really good here. If I did AGX, I'd want to do something like um like a high contrast to help it. I think ACES looks really good here and it really holds onto the bright colors, which is the whole point of this material. The final thing I like to do is add a little bit of noise in this reflection. It'll create a wobble effect which adds slightly more realism since manufactured objects usually have little imperfections. To do that, I basically want to place a noise texture in three locations. This noise is scaled pretty big so like you can see, you barely can see it. It's just light, but I plug that into here, which goes into all of our nodes.
And then I also want to plug it into our normal over here. It's a little hard for me to see. I'll just get a a node down there. Looks like I got it and I want to add it in here as well.
So, with that, if I preview the final shader, you might be able to see there's a little bit of movement in the reflection that just makes it slightly more realistic. Although this looks like a kind of crazy shader, it's actually pretty simple. It's all using the same node group just with different wavelengths put into it. If I were to tweak anything, it's always in this glossy BSDF inside that node group, adjusting things like roughness. And if I want to adjust the base material that these reflections are on, it's all in this principled BSDF. And obviously, there's lighting and HDRIs you can move and adjust to change where that diffraction appears.
If you want this Blender file, it's up for free on my Patreon. Please like and subscribe if you enjoyed the video, and I'll catch you in the next one.
>> and want to hate this, although she won't.
Related Videos

6:13
Computer Science
TOP 15 Data compression Interview Questions and Answers 2019 Part-2 | Data compression | Wisdom jobs
wisdomjobs
281 views•2019-06-28

27:51
Computer Science
CTS 158: 802.11w Management Frame Protection
ClearToSend
4K views•2019-02-04
23:21
Computer Science
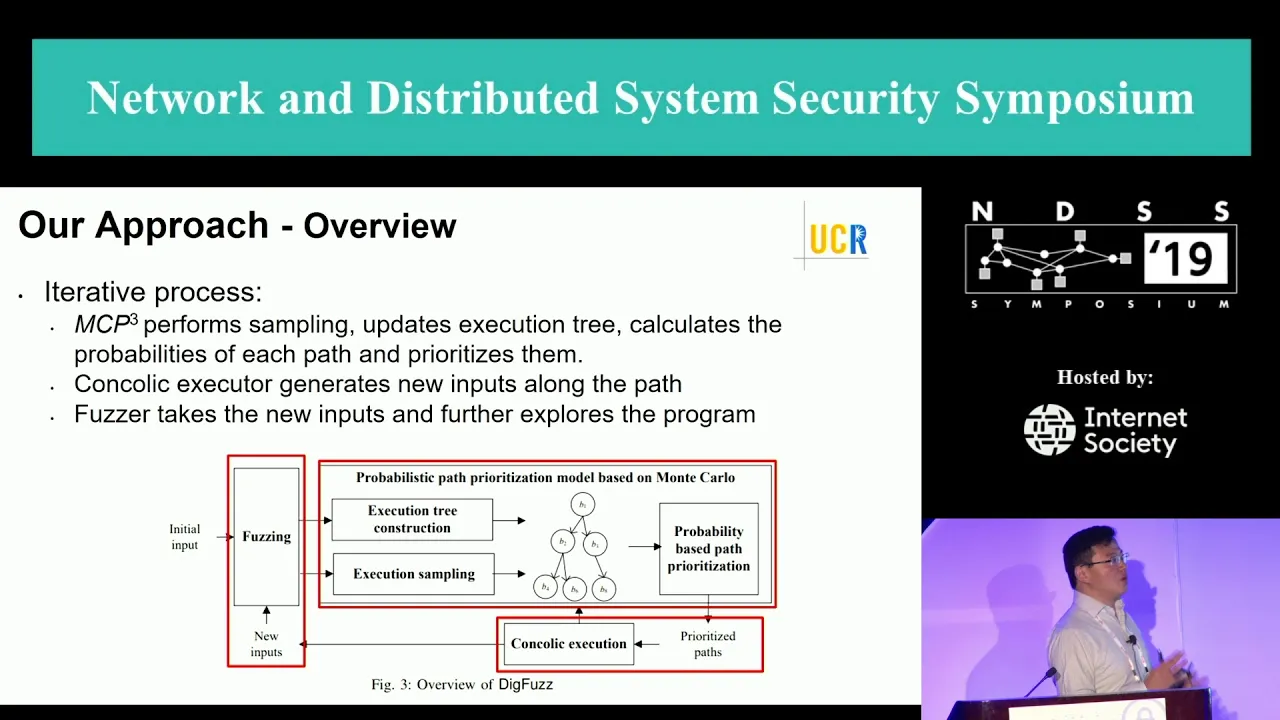
NDSS 2019 Send Hardest Problems My Way: Probabilistic Path Prioritization for Hybrid Fuzzing
NDSSSymposium
496 views•2019-04-02
12:48
Computer Science
How realistic is Cities: Skylines?
CityBeautiful
159K views•2019-02-14

46:39
Computer Science
GUIs & TUIs: Choosing a User Interface for Your Python Project | Real Python Podcast
realpython
2K views•2025-04-04

25:15
Computer Science
The OSI Model - Explained by Example
hnasr
225K views•2019-05-12
1:10:47
Computer Science
Cloud Computing - Introduction
elithecomputerguy
98K views•2019-10-07

2:24
Computer Science
From Traveler's Dilemma to Dynamic Routing | Demystifying Networking
IITBombayJuly
5K views•2019-08-04
Trending

13:25
Business
Playstation NO DISC/NO BUY Fight Is Over...
DavidJaffeGames
4K views•2026-07-23

22:40
Business
Steam and Xbox Just Dropped The Hammer On PlayStation
OhNoItsAlexx
9K views•2026-07-23

16:52
Anthropology
Americans Confused in Australia for 17 Minutes Straight
IWrocker
17K views•2026-07-23

20:36
Business
SuperBike Factory Has Gone... What's Next for the Motorcycle Industry?
thatbikersimon
11K views•2026-07-22