This tutorial masterfully distills complex multimodal workflows into a pragmatic guide, signaling the end of technical gatekeeping in high-end video production. It effectively bridges the gap between sophisticated AI capabilities and functional creative utility.
Install our extension to search inside any video instantly.
How To Use Google Omni - Google Omni TutorialAdded:
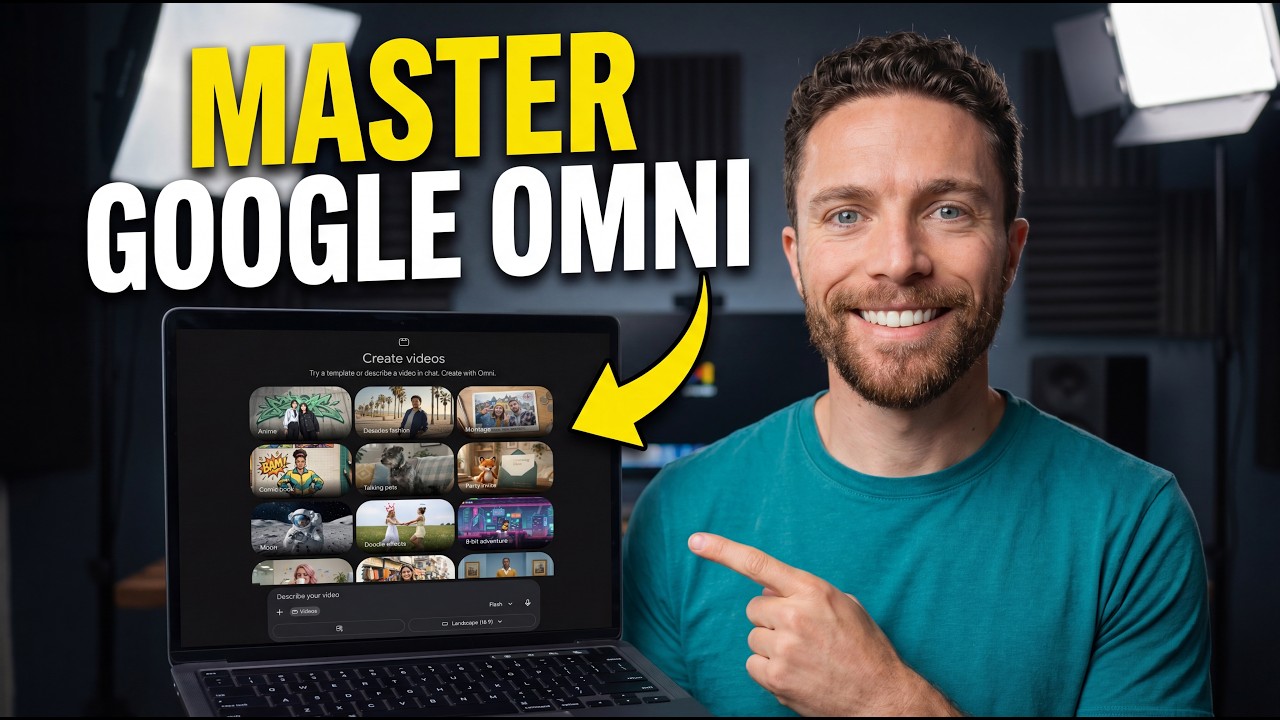
Google Omni is Google's new multimodal video for creating and editing videos from text, images, video, and audio inputs. And in today's video, I'll be showing you everything you need to know.
So, how most people use Google Omni is they come into the new Gemini, then come over to the side tab here, click videos, and then here you can see that this is where you essentially get the Google Omni. Now, whilst this area is particularly useful for beginners because you have a variety of different templates to start with, this isn't how most people are going to use Google Omni. If you would like to use Google Omni in a more professional setting because you'd like to get more done, head on over to Google Flow. So, this is essentially Google's Flow area where you essentially are using all of the Google models in a dedicated application that allows you to work much more faster.
Most people still don't know this exists just yet. So, if you're trying to use Google Omni and you want to get the best out of it, this is how you would do so.
So, when you click create new projects right here, this is going to open you up to a canvas where you're going to be able to generate images and videos. And so, when it comes to using Omni, one of the things you'll see is that if you click video down here, Omni Flash will be just right here underneath the 8 seconds area. And this is where you're going to want to be using Omni because this is how you get the most out of the model and most effective. Just remember that when using the Google Flow area, if you hit the top right, you'll be able to see just how much Google Flow credits you do have. And based on those number of credits, you're going to be able to generate a number of images and videos.
So, for example, if I go down to my videos right here, you can see that generating one video with Google Omni Flash will use 25 credits. And if I look at my balance, I can see I've got 20,000 credits, which is completely fine. Now, when you have your Google account, usually they'll have around 50 daily credits, and those daily credits don't stack. So, just do be aware depending on your Google subscription whether or not you have enough credits. So with Omni Flash, this is a particularly good upgrade from V3. And this is, I would say, the default model when it comes to generating video clips because of just how well it does perform. So the standard way to use Omni Flash is to simply generate whatever video you do want. And this works the exact same way that VO3.1 does, except it has better capabilities. So I could say an F1 car driving down a street in London. And then I'm going to click generate. And then I'll show you guys what it actually looks like with V3.1 so you know the quality difference. First off, this is the prompt with an F1 car driving down the street in London. This is VO3.1 quality. And so when we look at the clip here, we can see that the car is doing what it says. It's driving through the streets of London. And then at the end, it awkwardly does a quick reversal. Now, let's actually compare that with a clip generated by Google's Omni model. Now, when I start to play the clip right here, you can see that one of the standout things about Omni is that by default, it generates multiple different scenes when you prompt a video clip. So when you prompt with Gemini Omni, you must understand that the model is going to shift camera angles constantly. So it may do a left camera angle, a right camera angle, a dolly camera angle. It is going to do this by default. So unless you instruct the model, otherwise this is what's going to happen. I can show you guys another example. Here we have VO where I said an F1 car being chased by police in London. You can see that the F1 car is being chased in police by London. Very good. And you can see that there are a couple scenes there. But now once again if we do take a look at this one and we do look at Google Omni, you can see that the model shifts between multiple different scenes and there are some mistakes. So before we get on to how you can actually use Omni Flash to edit videos, one of the things you need to understand is that if you're using this model to actually just simply generate videos, understand under the hood, it's essentially a genic, which means it's going to split up your base prompt into multiple different ones and it's going to construct a video based on multiple smaller scenes stitched together, unless you do that yourself. So, if you wish to direct how Omni actually does the scenes, I can say an F1 car driving down a street in London being chased by police. But here, you can see I've added four different things. First, the car is going to break off the F1 track. Then, it's going to hop onto the London street. Then, we're going to get a helicopter view, and then we're going to get a crash. And so, in this example, you can see it breaks out of the F1 track, then we get the helicopter angle, and then you can see it eventually crashes. Now, of course, with Omni, you can change the camera angles yourself by saying camera angle one is this, camera angle two is that.
And I found that that is something that is remarkably useful. For example, in this prompt, every 2 seconds, I told Omni exactly what to do. I said in 2 seconds the car's going to drive around a corner at 4 seconds. Now, here's something you should know about this.
For some reason, even if you prompt it that way, Google's Omni model does prefer it if you just state out the scenes blankly. So, let's say you want to at every single interval have the camera angle do something. So, let's say at 2 seconds I want the Ferrari driving around the corner, which is what I have in this first clip here. So, you see at 2 seconds it's driving around the corner. And then at 4 seconds you can see I want it to have the tire glowing, the orange brake disc. And then at 6 seconds we get an aerial shot of it crashing into the barrier. And then at 8 seconds we get people running over to check it. Now, whilst yes, this is accurate. You can see that there are some mistakes about this that do tend to happen. Like for example, I'm not sure if you would see it, but the orientation of the car changes as it's as it's being crashed right here. So the car is forward and then it just flips all the way backwards, which is a very strange thing. And then of course you can see these people are running away from the car. Now, let's actually use that same prompt, but if we do that with Omni, but here's when I did the exact same prompt, but what I didn't do in this one was I didn't actually include the timestamps.
And so you can see here, you actually get the car with a more accurate brake disc. And then you can see eventually it crashes and then of course the people actually do run over. Now, of course, they're running through the barriers, which is a little bit weird, but it does look a bit more accurate in terms of the overall scene. So, I would say if you want, you can use the time frame scenes, which is going to be super super accurate and on point. But always try it out without the time frame scenes if your scene isn't that difficult because Google can sometimes struggle with that.
And if you just have the normal prompt in plain text, for whatever reason, it will largely make that prompt into a better one because they've got a model under the hood that is essentially doing the work. Now, what I'm going to show you guys is how you can edit the video.
So, in here, I've got another shot of an F1 car driving down a racetrack. And you can see that this looks pretty good. So, this is the standard Google Omni model.
And then what I've done, and the reason I've actually included this is because I want you guys to understand that the Google Omni model, it changes based on the physics. So, the actual video will change based on the physical capabilities. So, for example, what I did was I set a different terrain. So, I said in this terrain, I want it to be ice. So, what you can see here is that the car is actually moving a little bit slowly because of how tires would actually perform on ice. Most people don't understand that with this Omni model, Google decided that they wanted to focus on the physical reality. So, with this video, essentially, the car actually slowed down a bit and was a bit slower around the corners. And I know that might seem like a very small thing, but the physical reality does matter a decent amount if you're going to be prompting. For example, you can see that the tire is kicking up a lot of ice and snow. And that's really important because this is of course the landscape we've chosen to then move this over.
Now, of course, once again, if we then ask Gemini to change that to a dusty racetrack, you can see that there's of course going to be a lot of dust and of course a lot of different debris and the car is going to have time and the car will have a little bit of trouble controlling on the racetrack. Now, of course, it is completely up to you, but you can say if you want the exact same scene, and remember guys, Google Omni, I would say it is best described as a VFX tool for whatever you're trying to do.
So, when you have the original scene, and let's say for example, now we say the exact video, but racing around a castle style track. So, if we take a look at the first video, which is here, and then you can see if I say racing around a castle style track, which is here, you can see that the background just changes one to one, which is super useful. So, here you can see that castle style track. So here you can see that castle style track. So here you can see that castle style track in the background. It starts driving. You can see of course there is that you know sparks. It comes around this corner and then we get the final scene of it driving away. And if we look at the first scene right here it's actually driving on an F1 track. We get that spark scene right there. Of course then we get the scene where it's driving around and then of course we get the final scene where it's driving away. So depending on where the background do change it will of course have the driving image or video. Now, of course, once again, something you know that I think would be useful for people who are using this with V effects is to change the time of day. So, you can see right here that when you want to change the time of day, we can change it from daytime to nighttime and everything is going to be the exact same, which is of course super useful. So, I've just simply said in this clip, make it nighttime. And you can see everything is at nighttime. So, of course, you can change multiple different things. Maybe if in this video you didn't want there to be certain text on the vehicle or you wanted there to be text on that vehicle.
That is something that I found multiple examples of that it did really well. So for example, let's say on this car and I wanted to edit this. I would just lally go in this box right here and I would say and so for this example, what I will do is I'll actually take my own logo and then I'll add this to the prompt and I'll say make this car have the AI grid themed library on the car itself. all over the car themed change nothing else.
And so if we actually look at this video here, you can see that when I click play, you can see it actually has the library that I've just applied all over the car. So you can see right here, it has absolutely everything. And this is the same exact camera angle that we had before. Now, essentially what I've shown you guys is how to just use this in the app, but I want to go over all of the cool examples that Google has provided us with to show you guys just how crazy this video editing can get. Now, one of the examples here is how you can edit real videos based on images. So you can actually use reference images to edit your creations which allowed you for more control. So in this example you can see that when the hand opens make a vast 3D architectural structure based on this image start building upwards sitting in the palm of the hand reflecting the prismatic light and that looks really cool. We also get other examples of the same kind of thing at the hand. You can see once again reveal sun and essentially what this example is trying to show you that you can have more control over how you edit the VFX as long as you have an input image with it.
So often times some people will just simply want to prompt something into existence, but you may not know exactly what it looks like, how it's going to look. And if you want more controllability over how you edit your scenes, it makes sense to add an input image so that you can drive how the creation looks. For example, in this one, we can see here that it's the same driving video, but of course, the input image actually includes a photorealistic flying machine based on a specific sketch. And I think this is super useful because of course you can generate these pictures with Nano Banana Pro or whatever software you're using. And so another example that Google DeepMind shows is how you can edit a video in multiple stages. And one of the most useful things that you could do is of course change the angle and background.
So in this input video, we can see that a violinist is of course in that background which looks pretty natural.
And then you can change it to an image environment which was added which is this grass field. And not only that, you can also then remove the object which you can see here which is really cool.
Definitely super super amazing and really difficult to do. And then of course you can see you can also change the camera angle to be over the violinist soldier. And I think that this is super useful because in traditional areas of film making changing the camera angles is something that we really would struggle to do. So this is going to be something that is really useful for those of you who just simply want to prompt. So when you want to prompt to change a camera angle, remember there are many different camera angles out there. You can just simply Google them.
For example, if you literally just Google all the different camera angles, it will show you which ones are close-up, which ones are dolly, third eye view. This is going to be something that is just useful for you if you're trying to figure out how you want to change your scene. Another thing that is useful is that you can replace your object. So for example, here you can see a spaceship is flying through this colony. And then of course you can change it to a walnut right here. So you can see all you need to do is change a spaceship to an object. You can change it to a clock. Here you can see now you've got a clock flying through. And remember guys, of course you can change this object or character to either yourself or you can change it to something that you have simply prompted in. Here you've got a red Frisbee and then of course here you've got a raven.
So at the end of the day, I think this is one of the most useful things for creators. Now what's also useful about this is that Google Deep Mind shows us that you can also use this to create explainer videos. Now these explainer videos aren't long by any means, but it is still useful for small shorts and snippets. And this is something that I think is really useful. Now, by default, I do believe the Omni Flash is available in Notebook LM. So, if you do go into Notebook LM, and most people don't know this, but if you go to video overviews and let's say you have all your sources here, and you generate a video overview, it actually will use the video models to create a very extensive video, maybe one that's 2 to 3 minutes long. And I will say that that video might take about I I'm not sure on the exact time frame, but the last time I did this, it took a very long time to generate. But those videos are essentially fullyfledged educational videos that can teach you on any subject. So, if you're wondering how on earth did they generate those fullyfledged educational videos that are 2 to 3 minutes long, make sure you go over to Notebook LM, click video overview based on, you know, your sources and then ask it to generate a video overview based on that. The video overviews, in my experience, will take anywhere between 30 minutes to 60 minutes, but they may have changed that depending on the recent updates. Once again, Google does show us that you can combine multiple inputs. So you can put in an input video, an input image, an input audio, and a certain prompt, and then get back an entirely different result. And you can do this across multiple different styles for multiple different things. And this is really useful when you have many different elements and styles that you'd like to combine. And here is where they showed us how you can transfer motion and style. So you can apply motion and style references from an image or video across to your input. So here we have the input video of a man walking around. And then you've got the input image/style. And when you combine those two, you can see what that looks like. On this other example here, you can see the prompt is rose is made from this crystalall-like material. You can see we've got an input video of a rose growing and then an input image of a crystal which looks really nice. Then we can get to swapping characters. Then we can get to swapping characters. So this one is very relatively simple. If you put in an input video of yourself and then input an image in a certain style, you can essentially say replace me into this character. Now do remember the Gemini Omni does actually have a large amount of refusals compared to other AI tools.
I'm not sure what the reason is, but I know that Google's tools are essentially sensitive to real humans and potentially copyrighted characters. So, if you're trying to change into a certain character, make sure it doesn't look like any famous copyrighted characters such as Marvel, DC, or any famous celebrities, those who are publicly known, because that will just turn back a prompt that just simply doesn't work.
Here you can see other characters being generated. And yeah, it does look really well. And here we got another style where it says, "Tell me into this character." And this also looks pretty good. Now, here's where I want to get into some secret stuff that Google didn't really cover and most people don't really know about. And this is where you can translate the drawings into the video. So, you can turn sketches into a realistic video and use the doodles to guide how individual elements should move. Now, this is super useful if you have a creative canvas that allows you to draw on an image before uploading it into Google Gemini.
Now, essentially the reason that this is so useful is because often times you want a card or you want a specific object to go in a certain route or follow a specific area. And in this example, you can see that with the input image, the fish actually follows the perfect trajectory. In this example as well, you can see that the bird actually does a 360 and then continues on flying in the opposite direction. And that is something that is super useful for those of you who want granular control over your objects. This is something that most AI tools and video creation tools don't really have, but it is something that I found super super useful. Now, another useful thing is that you can actually use image story boards to actually create an entire story from a single clip. So, remember how I spoke about the fact that images can direct exactly what's going on in the video.
So, in this example, what they've done is they've used this storyboard here.
So, you can see it's got six different things. First, you've got the car, then you've got the man, then you got it pulling up, then you've got him eating pizza, talking with someone, and eventually driving away. And then you can see with two input images and asking Google to essentially follow the entire story with 10-second cinematic, this is going to be something that allows you to have a lot more control because not only does it follow it scene by scene, but you actually get to look at what each scene is going to look like. So with that image that you're inputting in and of course your reference image, which is of course you as a character or whatever character it may be, I think this is once again something super useful for those of you that want that really specific control. So that's one of the key things when it comes to Google Omni.
Related Videos

OpenHuman VS Hermes AI: Who Wins?
JulianGoldieSEO
285 views•2026-05-29

Long-Running Agents — Build an Agent That Never Forgets with Google ADK
suryakunju
142 views•2026-05-30
5 Mind Blowing Omni Uses Cases
PaulJLipsky
1K views•2026-06-02

This computer is made from real human brain cells. And you can buy it.
Talktmsmedia
3K views•2026-05-28

BREAKING: Microsoft’s New Image Generating Model Beat Out GPT 1.5 and Nano Banana 2
aimmediahouse
122 views•2026-06-03

I Made the Same Anime Fight Scene in Every AI Video Generator
NobleGooseAnime
295 views•2026-05-30

Nvidia Bets Big On AI PCs | New Chip To Power Windows Laptops | Technology | AI Updates | N18S
cnnnews18
3K views•2026-06-01

I Tested NEW Opus 4.8 on Four Projects (Updated LLM Leaderboard)
AICodingDaily
298 views•2026-05-29


