Soil texture can be assessed through two primary methods: the ribbon test, which involves moistening soil and attempting to form a ribbon to determine clay content (clay soils hold shape and form ribbons, while sandy soils crumble), and the sedimentation test, which involves mixing soil with water and allowing particles to settle over time (sand settles instantly, silt within 2-3 hours, and clay takes nearly 24 hours). Soil classification is based on particle percentages: clay soil contains over 20% clay, sandy soil contains over 40% sand, and the texture triangle helps classify soil types like sandy loam, clay loam, or silty based on these measurements.
Install our extension to search inside any video instantly.
Ribbon and sedimentation lab demoAdded:
okay so I got some water our soil sample from the farm this is a sample that I have at the college that we would use in the lab then I've got a graduated cylinder and a beaker I think at home you don't need a beaker and a graduated cylinder a jam jar would work just fine something that's a bit tall that's for later let's start with the first thing which would be what we just call the ribbon test so you could do this without any specialized equipment in any soil sample you find around your house or wherever take a small amount of soil like I'm gonna say that's about right something that's gonna fit in your palm and we want to wet it just a little bit I'll see how that works I'm gonna try to work it this is pretty heavy soil there we go so I'm gonna pretend I'm playing with clay at school now this happens to be a clay-like soil but it could be a regular soil you can almost say I got a little too much water in this I can always add a pinch of some dry soil for those of you making your Cove in nineteen bread at home okay so there's a couple of ways you can do a ribbon test there's the method that's described by Rain Bird on the this class this week's class which talks about just getting a ball of soil moistening it how many times you get to say moist in a day well today Lots then squish it and see if it holds the shape that you squished it into can you see ridges from your hand so it's holding its shape when you touch it does it easily crumble none this is a clay soil I'll try to find a looser soil after this video and maybe do it an addendum but so that's my farm soil the other one is the ribbon test where you're gonna be you really gotta need the soil to make sure there's no lumps for this to work I kind of prefer the palm one to be honest but the course specifies ribbon test so we're gonna do it by golly so you can roll it into a cylinder maybe a little less soil okay and then form a ribbon now what is interesting that the ribbon test does is it shows the edges breaking up a little bit as I do this so it's holding its shape fairly well but it's not like it's a continuous shape it is cracking and at the end of the day this is not 100% clay we're dealing with this is the soil that's high in clay so I would say that is a clay soil it's it's probably more clay than ought to be so I can't call it alone but this is gonna be more than 20% clay we won't know how much until we do the sedimentation test but I'm gonna do a video of that later so let's stop and I'll reset with the other soil go on we're back okay so this is the sample from the college you know a couple years ago we had the soil all nicely sorted but I think over the last couple of years students have been dumping the wrong soils back in the wrong bin so I don't even know what's in this but typically this would be silt and clay so let's see what we've got it's really dry cuz it's been in a lab for a few years so we got to rehydrate this look at that it's just powder so let me get some more all right throw a little bit of water in there who knows maybe it's sandy whoa okay that's a bit much all right now we're getting somewhere this is interesting this actually may be more of a sandy soil which means I don't have to go find a crumbly one okay so this is I did the same as the last time I'm rolling it and forming it I'm squishing it but it crumbles and it's holding its shape I don't see the shape of my palm quite as clearly as I did before so this is this is actually not really a clay soil this is more of a silty sandy soil so let's try making a ribbon okay so I'm gonna take a smaller piece of this and roll it out and then I'm gonna try to form a ribbon and look at that it's not holding it's not holding it's it's not forming a ribbon it's crumbling so this is this is definitely a sandy so see it's even I'm a hard time staying clumped so this is a so you look at that see I'm trying to squeeze off but there's a rock it's not working whereas the old soil I could form a ribbon so right away the high clay content soil holds a ribbon shape forms a ball in my hand when I squeeze it I can see finger or my skin creases and stuff it holds its shape when I form a ribbon it's fairly well shaped with the sandy soil it's constantly crumbling so that's really interesting right so we have a sandy soil we've got a clay soil just based on qualitative assessment so we're gonna come back and I'm going to mix some soils into the different beakers and then we'll let them settle overnight and then I'll do a video showing you what they look like after that you alright so I'm gonna show you how to do the one with the soil from the vineyard the other one I can try in the beaker but it's kind of clumsy I would rather something a little narrow and taller but we can do it the nice thing about the graduated cylinder is that I can measure the height of different layers so let me back up and explain what I want to do here I'm gonna add a small amount of soil to here top it up with water shake it till the soil is completely soluble eyes all the parts are floating in a nice slurry shake it Lots then we're gonna set it down and we're gonna let it settle the bigger larger structures will settle immediately like pebbles and stuff then your next size particle will settle right on up until we get to the clay now typically large objects are instantaneous sand within five minutes is all settled silt will settle within about two three hours and the clay takes about almost 24 hours to tilt basically you let it sit till the top layer of water is clear then you can look through the side and you can measure okay so if I have 10 centimeters from bottom to top that's my total height what percentage of each layer represents it does each part component make in the soil right and if from the lesson the lab lesson you'll remember anything over 20 percent clay is considered a clay soil anything over 40 percent sand is a sandy soil right all that that kind of stuff so once you know what percentage then you can put take those percentages plot them on your texture triangle and then you can classify your soil as a sandy loam a clay loam alone or silty based on what percentage you see so I'll make the slurry and then we'll let it settle and we'll come back tomorrow so I guess you can watch me play with dirt great I'm gonna mix it in a beaker and then I'm gonna come back and pour the slurry using fancy dancy screwdriver try to get the big chunks solubilized roots we don't really want so do your best teas plant matter out of the mix at the can it's taking longer that time wow this is exciting a online learning good to watch that one's stirring muck with a screwdriver all the name of science lets you tell your parents when you've got that jar in your kitchen good tell hey my instructor in college told me I gotta flip this on the windowsill okay I think we have mmm good okay all right let's pour it in did you ever do this as a kid you dare your friends I dare you to drink it in your mom's at dinnertime thank goodness okay I'm gonna put 40 mils in and that is it now we're just gonna let it sit for Oh 24 hours and then come back and I'll do the same thing for this but I only have one graduated cylinder so we'll try the beaker all right see you in 24 hours okay so it's actually been more than 24 hours I've been waiting for quite a while for the soil to settle from the grape vines as you'll see there's the dark layer at the bottom which is a sandy layer I'm not sure yeah you can kind of see how that looks like sand and then the next layer would be our silt and then we have clay and obviously Clay's the smallest particle takes the longest to settle but I am astonished at how much clay there is I thought it wasn't settling but if you look carefully at top you will see that there is a milky clear layer so I have a feeling this would settle even more so what I wanted to do is sort of suck some of this off and it's not particularly solid I think it's starting to now we're getting into something that's a little more settled but syringe it's still pretty fine I think that's gonna take that would have taken quite a few days to settle I hadn't anticipated on that but it doesn't really matter because what we're gonna come to the conclusion here is that by looking at the the scale down here there's one centimeter two three four five six seven and a half centimeters let's just let's assume this is gonna settle down to half its thickness so we're looking at 60 centimeters the bottom is the base is actually up tensa meters so we're looking at 50 centimeters or 50 millimeters total height and rough guessing the silt layer is less than 10 millimeters and the clay and the sámi layer are about equal but at the very least what that means is that we have more than 20% clay which obviously we have a clay soil if you want you can jot down the numbers or take a still photograph or the video calculate the percentages and then taking the percentage of say the clay and the sand alone you could calibrate where this is in the texture triangle remember you don't need all three because it only takes two points to triangulate so I'm gonna say it's forty percent clay forty percent sand and twenty percent silt so we're looking at a real clay soil which is in fact what it is let me swap out that cylinder and let's look at the sample from the college which settled fairly quickly and interestingly enough I'll let you take a close look very difficult to see but there is it's very hard for you to see it's sand at the base you can kind of see the characteristic course no help I guess a people who make youtube videos I probably spent a lot of time on lighting and I never would have thought that my camera insists on focusing on this jar back here which is rather than using okay so it's not really showing up and it's very subtle so what I'm gonna show you with my my little tube here is that it's sand up to about here and then silt there's no clay this settled very quickly which tells me it's not clay so we got sand and we've got silt so it's about sixty percent sand forty percent silt and zero clay okay so that's gonna be a silty sandy soil obviously but plot it on the textual triangles see what you find anyways that's those are fairly simple tests you can do at home with any kind of tall glass with the soil sample from your yard or your neighbor's yard or even a customer's yard if they're trying to decide what type of soil they have and how they want to amend it right I had a student ask me once Oh if your soil is very low in clay should you add clay well that's not that's not normally done the only time I've seen so added to something was when the farmer had made a mistake and they were trying to absorb too much micronutrient that someone had added just to make sure there's no toxicities because clay will suck that up but generally speaking if your soil is very loose and draining in a in a gardening or horticultural context you're gonna add organic matter which is going to have similar properties to the clay in terms of water holding capacity and nutrient storage but we're gonna get into that more as we go through the course so let's not get bogged down on that this first lesson was all about particulates like our classic picture as we see down here with this separation the sand silt and clay and how those three particles interact to form to basically dictate what type of texture the soil is going to have so all right well hope you found this interesting I'm gonna move on to my next lab for you guys alright talk to you later
Related Videos

Taking $10,000 Cash To Green the Driest Barrio in Bolivia
LeafofLifeEarth
528 views•2026-05-29
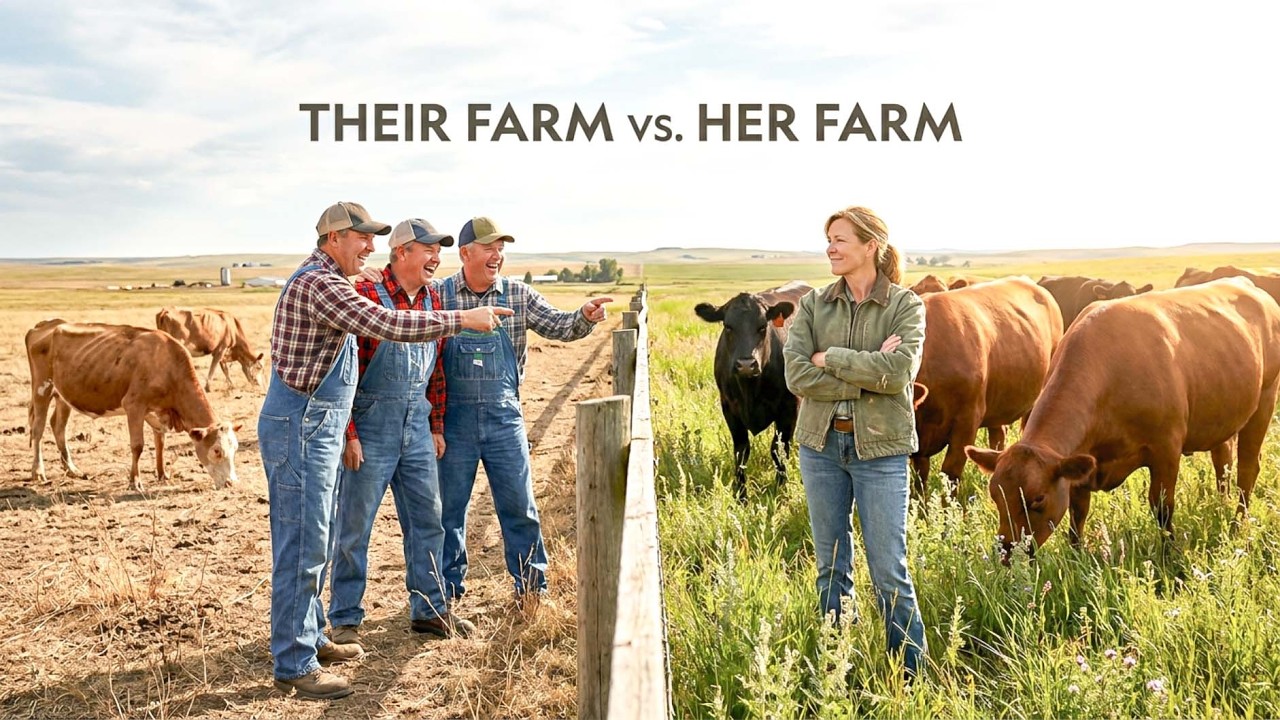
They Laughed When She Let the Weeds Grow Between the Fences — Then Her Cattle Outweighed Every Herd
BackroadHarvest
117 views•2026-05-28

Mozambique RELEASES AFRICA'S MOST DANGEROUS ANIMAL - After 2 Months, The Results Shock Scientists
SimpleDiscovery24
541 views•2026-05-29

Cute Seals Spotted On Remote UK Island | Our Tiny Islands
Channel4OnTour
141 views•2026-05-29

The Bay Poisoned by Mercury #shorts
harmedino
289 views•2026-06-01

Calgary Flood Watch Day 4 🚨 Bow River Not Expected to Peak Until Tomorrow
RealtorDhirYYC
103 views•2026-06-01

This Jamaican Pond Has A Deadly Reputation
MyEyesAreYours-i3s
656 views•2026-05-28

You must see this..My narrowboat journey continues to the end of the Bridgewater canal..#945
NarrowboatWill
2K views•2026-06-03


